I have a super fun DIY Mason Jar Tissue project for you below if you need the tissues…… howeverrrrr before grabbing the tissue – I have something really awesome to share to help ease those allergies and keep your adorable mason jar full of tissues 😉
For some, the aggravation of allergies is an everyday nightmare – not just in the spring season! Sinus swelling, headaches, reduced energy, nasal discomfort, excessive mucus, coughing, chest pain, joint swelling, difficulty breathing, and reduced quality of sleep are just a few of the common symptoms of allergies. UGH!
So what can be done to support the body in alleviating these awful symptoms!?
A combination of these three offer the best results:
- anti-allergenic
- antihistamine
- steroidal (reduce inflammation).
And I’m here to offer you those three properties in one convenient blend of awesomeness!
Carefully blended combination of Frankincense, Lavender, Lemon, and Peppermint Essential Oils = Allergy ! ❤
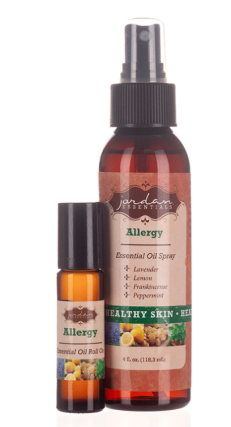
The Allergy blend comes in convenient and already perfectly diluted as a Roll On , Spray or our ever popular Magnesium Plus Stick Allergy – which adds the benefit of combining this essential oil blend with magnesium! (Read more about magnesium here)
Feel confident to go out there and enjoy the world today with this blend!
As always – contact me with any questions. Always happy to help and make additional recommendations for you! ❤

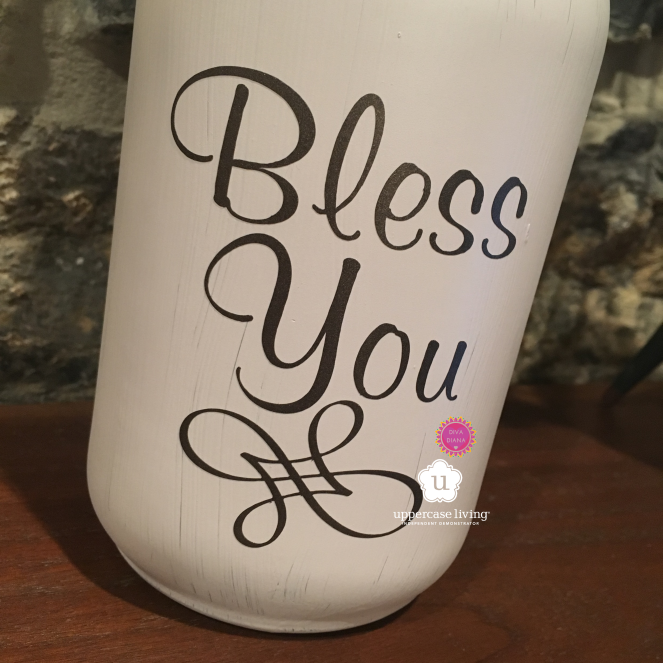
Sooooooooo now IF you need the tissues…. make it fun!
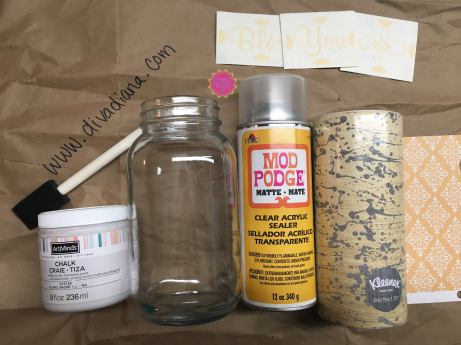
First you’ll want to gather these supplies:
- “Bless You” vinyl (ask friends to find someone with a vinyl machine)
- Quart Size Mason Jar
- Chalk Paint & Brush
- Matte Mod Podge Sealer
- Scrapbook Paper (or small fabric square)
- Kleenex Perfect Fit Tissues
- Scissors (exacto knife also)
- Hot Glue Gun
- Paint your mason jar. As noted in supply list, I suggest using a chalk paint. Any brand will do. Chalk paint offers better coverage. If you would like to do more than one coat, allow to dry fully in between coats.

- Spray the painted jar with the Matte Mod Podge Sealer after paint has completely dried. This will help to protect from any unwanted scratches of the paint. If you’d like a more distressed look to your jar, before spraying the sealer take some fine sandpaper over spots to distress jar.
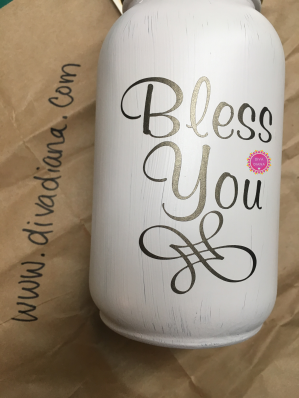
- Apply the vinyl.
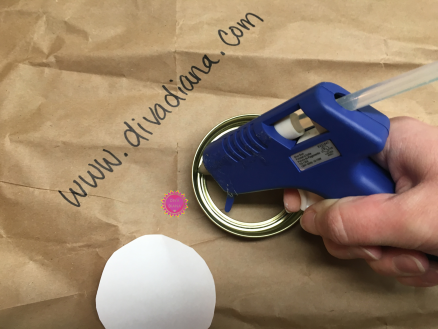
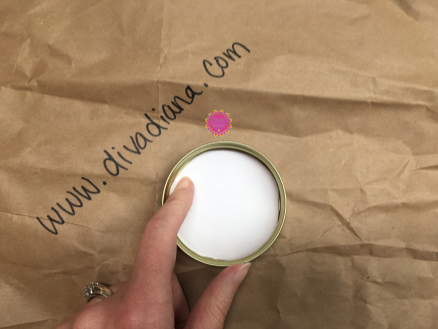
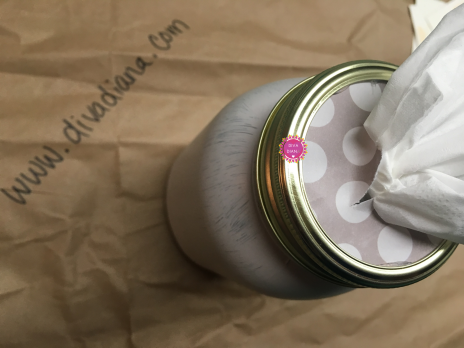
- Use the lid to the jar to trace the size you need of either scrapbook paper or fabric.

- Cut the circle and then hot glue into the ring rim.
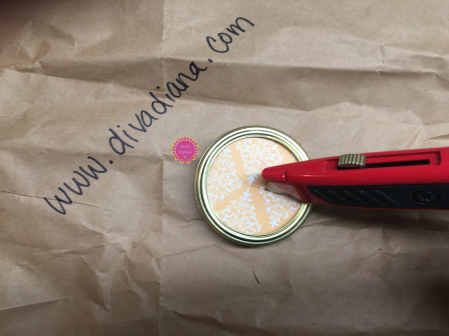
- Slit a cross shape in the top of the paper (fabric) to allow the tissues to come through.
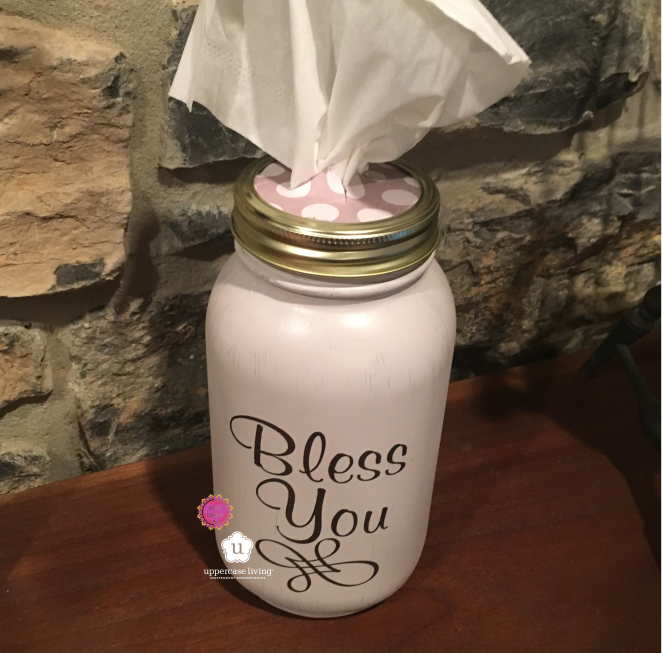
- Remove the top of the tissue box and remove the tissues keeping them in the same form. Then insert tissues into mason jar.

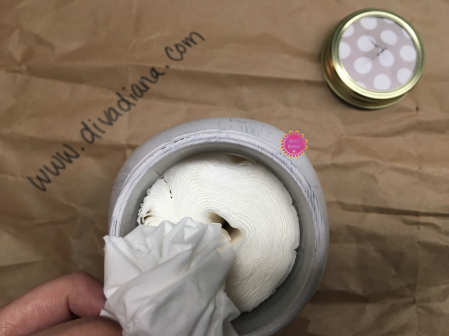
- Pull one tissue up and through the slits of your scrapbook paper lid – then screw lid onto jar.
That’s it! You now have your own adorable and unique tissue mason jar holder! ❤